Here is a full guide installation on how to set up WordPress with your domain using AWS route 53, EC2 and Ubuntu 20.04 – Focal Fossa. I will assume you have zero or limited understanding of how to set your blog running on a small server.
To setup this, all you need is 15 minutes have access to your CMDER or command console.. The steps are quite easy by setup domain, EC2 instance, DNS configuration, Softwares installation, NGINX configuration, Database, SSL Letsencrypt and WordPress installation
1. Setup Domain and Route 53
Go to your AWS account and visit Route 53 Section. Create a new Zone and set up your domain. Once you created, you will see a list of NS from AWS. Please copy that value to your domain registrar menu under the “Nameserver” Section.
2. Create a new AWS EC2 Instance
Go to EC2 Section and launch a new instance using Community AMI “Ubuntu 20.04”. Once the server ready, attach a new elastic IP into it. Please ensure the security groups enable port 80 and 443 access from outside. Then, go back to Route 53 and create 2 A record for yourdomain and www.yourdomain with pointed into the elastic IP
3. SSH into your AWS Instance
When you login, now you ready to install the dependencies softwares.
sudo apt-get update && sudo apt-get upgrade
sudo apt-get install nginx mariadb-server mariadb-client
sudo apt install php-fpm php-common php-mbstring php-xmlrpc php-soap php-gd php-xml php-intl php-mysql php-cli php-ldap php-zip php-curl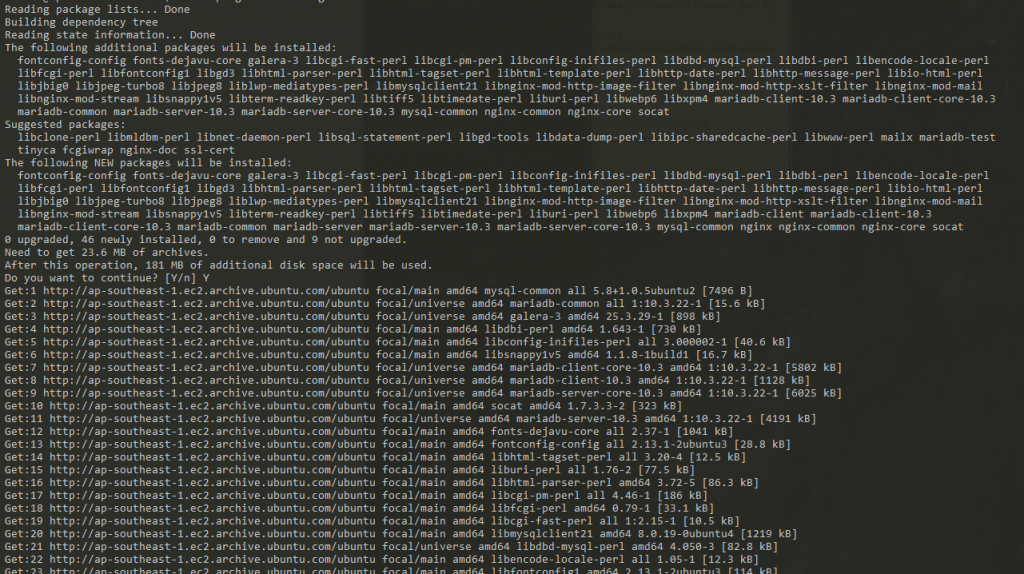
4. Set-up your MariaDB
Run this command to set a new password from your MariaDB.
sudo mysql_secure_installationIf you need to login, please use “sudo mariadb -u root -p”. You may encounter an issue where you can’t access MariaDB because forgot the password. To solve that, please do this
Also, you need to grant access “root” to be accessible outside “sudo” and this is important if you want your WordPress able to access your mariadb database. Don’t forget to create a new database for your blog, in this case I will use name “wordpress”
5. Setup NGINX
Now, your database is already setup, it’s set up NGINX with Letsencrypt SSL. First, go to “/etc/nginx/sites-enabled” and edit the file using “sudo”. I added letsencrypt part in the configuration files. Please check on folder path and rename it as your preference.
##
# You should look at the following URL's in order to grasp a solid understanding
# of Nginx configuration files in order to fully unleash the power of Nginx.
# https://www.nginx.com/resources/wiki/start/
# https://www.nginx.com/resources/wiki/start/topics/tutorials/config_pitfalls/
# https://wiki.debian.org/Nginx/DirectoryStructure
#
# In most cases, administrators will remove this file from sites-enabled/ and
# leave it as reference inside of sites-available where it will continue to be
# updated by the nginx packaging team.
#
# This file will automatically load configuration files provided by other
# applications, such as Drupal or WordPress. These applications will be made
# available underneath a path with that package name, such as /drupal8.
#
# Please see /usr/share/doc/nginx-doc/examples/ for more detailed examples.
##

# Default server configuration
#
server {
        listen 80 default_server;
        listen [::]:80 default_server;

        # SSL configuration
        #
        # listen 443 ssl default_server;
        # listen [::]:443 ssl default_server;
        #
        # Note: You should disable gzip for SSL traffic.
        # See: https://bugs.debian.org/773332
        #
        # Read up on ssl_ciphers to ensure a secure configuration.
        # See: https://bugs.debian.org/765782
        #
        # Self signed certs generated by the ssl-cert package
        # Don't use them in a production server!
        #
        # include snippets/snakeoil.conf;

        root /var/www/html;

        # Add index.php to the list if you are using PHP
        index index.html index.htm index.nginx-debian.html;

        server_name _;

        location ~ /\.well-known/acme-challenge/ {
                allow all;
                root /home/ubuntu/letsencrypt;
                try_files $uri =404;
                break;
        }

        location / {
                # First attempt to serve request as file, then
                # as directory, then fall back to displaying a 404.
                try_files $uri $uri/ =404;
        }

        # pass PHP scripts to FastCGI server
        #
        #location ~ \.php$ {
        #       include snippets/fastcgi-php.conf;
        #
        #       # With php-fpm (or other unix sockets):
        #       fastcgi_pass unix:/var/run/php/php7.4-fpm.sock;
        #       # With php-cgi (or other tcp sockets):
        #       fastcgi_pass 127.0.0.1:9000;
        #}

        # deny access to .htaccess files, if Apache's document root
        # concurs with nginx's one
        #
        #location ~ /\.ht {
        #       deny all;
        #}
}


# Virtual Host configuration for example.com
#
# You can move that to a different file under sites-available/ and symlink that
# to sites-enabled/ to enable it.
#
#server {
#       listen 80;
#       listen [::]:80;
#
#       server_name example.com;
#
#       root /var/www/example.com;
#       index index.html;
#
#       location / {
#               try_files $uri $uri/ =404;
#       }
#}
Technically, your domain already pointed into EC2 Server ip-address and NGINX ready to serve any web request. In this case, you can restart the nginx service by “sudo service nginx restart” and visit your website showing NGINX welcome page.
6. Install Letsecrypt in Ubuntu 20.04 Focal Fossa
Now we already have the domain running under HTTP, lets change that into HTTPS using free SSL certification provided by letsencrypt. Here is quick installation step.
cd ~/
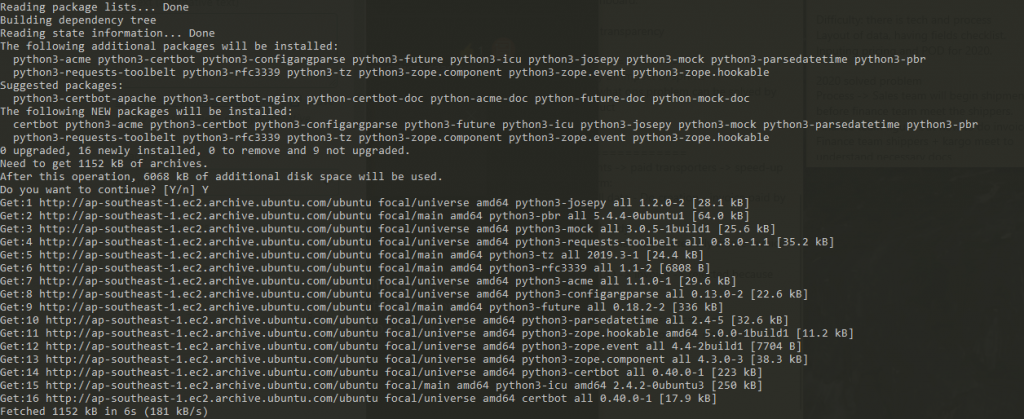
sudo apt-get install certbot
mkdir letsencrypt
sudo letsencrypt certonly -a webroot --webroot-path=/home/ubuntu/letsencrypt -m youremail --ag ree-tos -d www.yourdomain.comNow, you will see success result in generate the SSL key.
7. Install WordPress
Go to your home and download wordpress using this command:
cd ~/.
wget -c wget https://wordpress.org/latest.tar.gz
tar -xvvf latest.tar.gz
chmod 777 wordpress
mkdir wordpress/wp-content/uploads
chmod 777 wordpress/wp-content/uploads
The last part, don’t forget to reset it back to “chmod 755” after installation
8. Update NGINX Configuration to support SSL and WordPress
Change your NGINX configuration “/etc/nginx/sites-enabled/” and also please check on the information below and renamed it based on your path and domain name. And restart your Nginx service by “sudo service nginx restart”
server {
    server_name yodiw.com www.yodiw.com;
    listen 80;

    return 301 https://www.yodiw.com$request_uri;

    location ~ /\.well-known/acme-challenge/ {
                allow all;
                root /home/ubuntu/letsencrypt;
                try_files $uri =404;
                break;
    }
}


server { #Redirect https, non-www to https, www
    listen 443 ssl;
    server_name yodiw.com;

    return 301 https://www.yodiw.com$request_uri;

    location ~ /.well-known {
        allow all;
        root /home/ubuntu/letsencrypt/;
    }

    ssl_certificate      /etc/letsencrypt/live/www.yodiw.com/fullchain.pem;
    ssl_certificate_key  /etc/letsencrypt/live/www.yodiw.com/privkey.pem;
}

server {
    listen 443 ssl;
    listen [::]:443 ssl;
    server_name www.yodiw.com;
    ssl on;

    # PUT YOUR WORDPRES LOCATION HERE
    root    /path/to/your/root;

    location ~ /\.well-known/acme-challenge/ {
                allow all;
                root /home/ubuntu/letsencrypt;
                try_files $uri =404;
                break;
    }

    ssl_certificate      /etc/letsencrypt/live/www.yodiw.com/fullchain.pem;
    ssl_certificate_key  /etc/letsencrypt/live/www.yodiw.com/privkey.pem;
    ssl_protocols TLSv1 TLSv1.1 TLSv1.2;

#    ssl_ciphers "EECDH+AESGCM:EDH+AESGCM:ECDHE-RSA-AES128-GCM-SHA256:AES256+EECDH:DHE-RSA-AES128-GCM-SHA256:AES256+EDH:ECDHE-RSA-AES256-GCM-SHA384:DHE-RSA-AES256-GCM-SHA384:ECDHE-RSA-AES256-SHA384:ECDHE-RSA-AES128-SHA256:ECDHE-RSA-AES256-SHA:ECDHE-RSA-AES128-SHA:DHE-RSA-AES256-SHA256:DHE-RSA-AES128-SHA256:DHE-RSA-AES256-SHA:DHE-RSA-AES128-SHA:ECDHE-RSA-DES-CBC3-SHA:EDH-RSA-DES-CBC3-SHA:AES256-GCM-SHA384:AES128-GCM-SHA256:AES256-SHA256:AES128-SHA256:AES256-SHA:AES128-SHA:DES-CBC3-SHA:HIGH:!aNULL:!eNULL:!EXPORT:!DES:!MD5:!PSK:!RC4";
    ssl_prefer_server_ciphers on;
    #ssl_session_cache shared:SSL:10m;
    ssl_ciphers ECDH+AESGCM:DH+AESGCM:ECDH+AES256:DH+AES256:ECDH+AES128:DH+AES:RSA+AESGCM:RSA+AES:!aNULL:!MD5:!DSS;

    # ciphers chosen for forward secrecy and compatibility
    # http://blog.ivanristic.com/2013/08/configuring-apache-nginx-and-openssl-for-forward-secrecy.html
    #ssl_ciphers "ECDHE-RSA-AES256-GCM-SHA384:ECDHE-RSA-AES128-GCM-SHA256:DHE-RSA-AES256-GCM-SHA384:DHE-RSA-AES128-GCM-SHA256:ECDHE-RSA-AES256-SHA384:ECDHE-RSA-AES128-SHA256:ECDHE-RSA-AES256-SHA:ECDHE-RSA-AES128-SHA:DHE-RSA-AES256-SHA256:DHE-RSA-AES128-SHA256:DHE-RSA-AES256-SHA:DHE-RSA-AES128-SHA:ECDHE-RSA-DES-CBC3-SHA:EDH-RSA-DES-CBC3-SHA:AES256-GCM-SHA384:AES128-GCM-SHA256:AES256-SHA256:AES128-SHA256:AES256-SHA:AES128-SHA:DES-CBC3-SHA:HIGH:!aNULL:!eNULL:!EXPORT:!DES:!MD5:!PSK:!RC4";

    # enable session resumption to improve https performance
    # http://vincent.bernat.im/en/blog/2011-ssl-session-reuse-rfc5077.html
 #   ssl_session_cache shared:SSL:50m;
    ssl_session_timeout 5m;

    # config to enable HSTS(HTTP Strict Transport Security) https://developer.mozilla.org/en-US/docs/Security/HTTP_Strict_Transport_Security
    # to avoid ssl stripping https://en.wikipedia.org/wiki/SSL_stripping#SSL_stripping
    add_header Strict-Transport-Security "max-age=31536000; includeSubdomains;";
    add_header X-Content-Type-Options nosniff;
    add_header X-XSS-Protection "1; mode=block";
    # add_header Content-Security-Policy "default-src 'self'; script-src 'self' 'unsafe-inline' 'unsafe-eval' data: https://www.google-analytics.com/ https://ssl.google-analytics.com https://assets.zendesk.com https://connect.facebook.net https://maps.googleapis.com/ https://d1l7z5ofrj6ab8.cloudfront.net/ https://ajax.googleapis.com/; img-src 'self' data: https://mts.googleapis.com https://maps.gstatic.com/ https://d1l7z5ofrj6ab8.cloudfront.net/ https://csi.gstatic.com/ https://ssl.google-analytics.com https://maps.googleapis.com/ https://s-static.ak.facebook.com https://assets.zendesk.com; style-src 'self' 'unsafe-inline' data: https://d1l7z5ofrj6ab8.cloudfront.net/ https://csi.gstatic.com/ https://fonts.googleapis.com https://maxcdn.bootstrapcdn.com/ https://assets.zendesk.com; font-src 'self' https://fonts.gstatic.com/ https://maxcdn.bootstrapcdn.com/ https://themes.googleusercontent.com; child-src https://happyfoxchat.com  https://assets.zendesk.com https://www.facebook.com https://s-static.ak.facebook.com https://tautt.zendesk.com; object-src 'none'";
    # add_header Public-Key-Pins 'pin-sha256="TcmOEUd/PwZtaEDWppHx70TjB+IRGCe5ONIqcbMjBBk="; max-age=31536000; includeSubDomains';

    client_body_timeout  460;
    client_header_timeout 460;
    send_timeout 460;
    client_max_body_size 10m;
    keepalive_timeout       300 300;

    access_log  /var/log/nginx/access.log;
    index  index.php index.html index.htm;

    location = /favicon.ico {
            log_not_found off;
            access_log off;
    }

    location = /robots.txt {
            allow all;
            log_not_found off;
            access_log off;
    }

    location / {
            # This is cool because no php is touched for static content
            try_files $uri $uri/ /index.php?$args;
    }


    # pass the PHP scripts to FastCGI server listening on 127.0.0.1:9000
    #
    location ~ .php$ {
            fastcgi_send_timeout 3800;
            fastcgi_read_timeout 3800;
            fastcgi_connect_timeout 2800;
            fastcgi_pass unix:/run/php/php7.4-fpm.sock;
            fastcgi_index  index.php;
            fastcgi_param  SCRIPT_FILENAME  $document_root$fastcgi_script_name;
            include fastcgi_params;
    }

    location ~* .(js|css|png|jpg|jpeg|gif|ico)$ {
            expires max;
            log_not_found off;
    }

    # deny access to .htaccess files, if Apache document root
    # concurs with nginx one
    #
    location ~ /.ht {
            deny  all;
    }
}
9. WordPress Website Installation
Go to your domain via web-browser and you can do the installation with database configuration setup at previous step. Again, don’t forget to reset it back to “chmod 755” after installation.
Now you have a blog website running under EC2 AWS, routed by Route 53, Using MariaDB, NGINX, PHP 7.4 and WordPress 5.
2 replies on “Install WordPress on AWS Ubuntu 20.04”
[…] 15 Minutes full guide installation of WordPress 5 in AWS EC2 Ubuntu 20.04 Focal Fossa. Running with Letsencrypt SSL, NGINX and Latest PHP 7.4… Read more […]
I haven’t read it yet but this is what I have been looking for for MONTHS!!! Thank you so much for this. ❤️