Here is the full guide on how to set up and install the latest Phoenix Web Framework and Elixir in Windows 10. In this case, I’m using Windows 10 as my day to day software development environment. Please follow the steps below:
In summary, to build a new Phoenix application, we will need to install a few software :
- the Erlang VM and the Elixir programming language
- PostgreSQL as default preferable database
- Node.JS for assets – which can be opt-out, especially if you are building APIs
- Phoenix Framework
- Cmder (my favorite terminal in Windows)
1. Dowload and install the softwares
Elixir – https://elixir-lang.org/install.html#windows
PostgreSQL – https://www.enterprisedb.com/downloads/postgres-postgresql-downloads
Cmder – https://cmder.net/ (if you like it)
Chocolate Windows 10 – https://chocolatey.org/install
@"%SystemRoot%\System32\WindowsPowerShell\v1.0\powershell.exe" -NoProfile -InputFormat None -ExecutionPolicy Bypass -Command “iex ((New-Object System.Net.WebClient).DownloadString('https://chocolatey.org/install.ps1'))" && SET "PATH=%PATH%;%ALLUSERSPROFILE%\chocolatey\bin"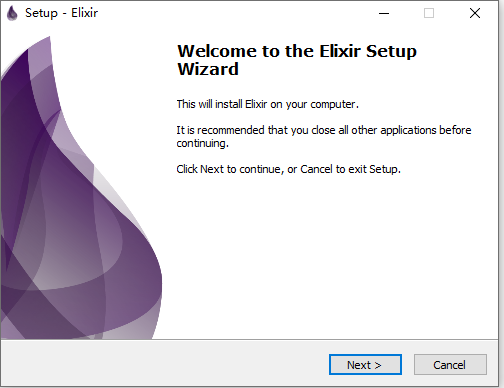
2. Setup NodeJS in Windows 10 with Choco
choco install nodejs-lts3. Install Phoenix Web Framework
mix local.hex
mix archive.install hex phx_new 1.5.1
mix phx.new hello
cd hello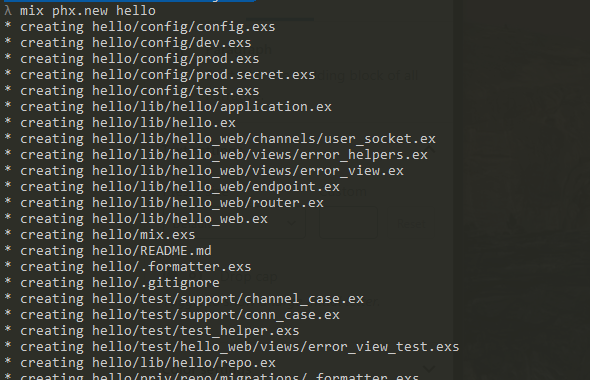
Edit the “config\dev.exs” configuration following your database name, username and password.
4. Run Phoenix Web Server
mix ecto.create
mix phx.server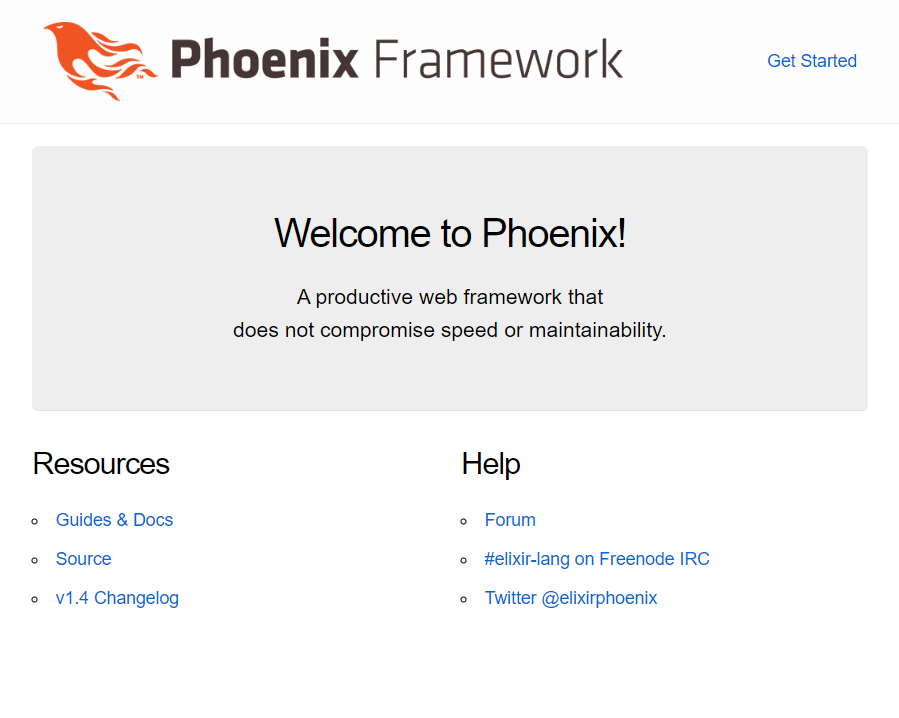
5. Install Phoenix Live View Dashboard
This is feature just released few days ago, where we have a dashboard to monitor our website performance. First, stop the webserver and go edit mix.exs and add “{:phoenix_live_dashboard, “~> 0.1″}”
  # Specifies your project dependencies.
  #
  # Type `mix help deps` for examples and options.
  defp deps do
    [
      {:phoenix, "~> 1.4.16"},
      {:phoenix_pubsub, "~> 1.1"},
      {:phoenix_ecto, "~> 4.0"},
      {:ecto_sql, "~> 3.1"},
      {:postgrex, ">= 0.0.0"},
      {:phoenix_html, "~> 2.11"},
      {:phoenix_live_reload, "~> 1.2", only: :dev},
      {:gettext, "~> 0.11"},
      {:jason, "~> 1.0"},
      {:plug_cowboy, "~> 2.0"},
      {:phoenix_live_dashboard, "~> 0.1"}
    ]
  end
Go to “lib/hello_web/endpoint.ex” and add “socket “/live”, Phoenix.LiveView.Socket”
defmodule HelloWeb.Endpoint do
  use Phoenix.Endpoint, otp_app: :hello

  # The session will be stored in the cookie and signed,
  # this means its contents can be read but not tampered with.
  # Set :encryption_salt if you would also like to encrypt it.
  @session_options [
    store: :cookie,
    key: "_hello_key",
    signing_salt: "FAwt5TSM"
  ]

  socket "/socket", HelloWeb.UserSocket,
    websocket: true,
    longpoll: false

  socket "/live", Phoenix.LiveView.Socket

  # Serve at "/" the static files from "priv/static" directory.
  #
  # You should set gzip to true if you are running phx.digest
  # when deploying your static files in production.
  plug Plug.Static,
    at: "/",
    from: :hello,
    gzip: false,
    only: ~w(css fonts images js favicon.ico robots.txt)

  # Code reloading can be explicitly enabled under the
  # :code_reloader configuration of your endpoint.
  if code_reloading? do
    socket "/phoenix/live_reload/socket", Phoenix.LiveReloader.Socket
    plug Phoenix.LiveReloader
    plug Phoenix.CodeReloader
  end

  plug Plug.RequestId
  plug Plug.Telemetry, event_prefix: [:phoenix, :endpoint]

  plug Plug.Parsers,
    parsers: [:urlencoded, :multipart, :json],
    pass: ["*/*"],
    json_decoder: Phoenix.json_library()

  plug Plug.MethodOverride
  plug Plug.Head
  plug Plug.Session, @session_options
  plug HelloWeb.Router
end
Next, edit your router.ex and add “import Phoenix.LiveDashboard.Router” and
if Mix.env() == :dev do
    scope "/" do
      pipe_through :browser
      live_dashboard "/dashboard"
    end
  end
This is how it looks like
defmodule HelloWeb.Router do
use HelloWeb, :router
import Phoenix.LiveDashboard.Router
pipeline :browser do
plug :accepts, ["html"]
plug :fetch_session
plug :fetch_flash
plug :protect_from_forgery
plug :put_secure_browser_headers
end
pipeline :api do
plug :accepts, ["json"]
end
scope "/", HelloWeb do
pipe_through :browser
get "/", PageController, :index
end
if Mix.env() == :dev do
scope "/" do
pipe_through :browser
live_dashboard "/dashboard"
end
end
# Other scopes may use custom stacks.
# scope "/api", HelloWeb do
# pipe_through :api
# end
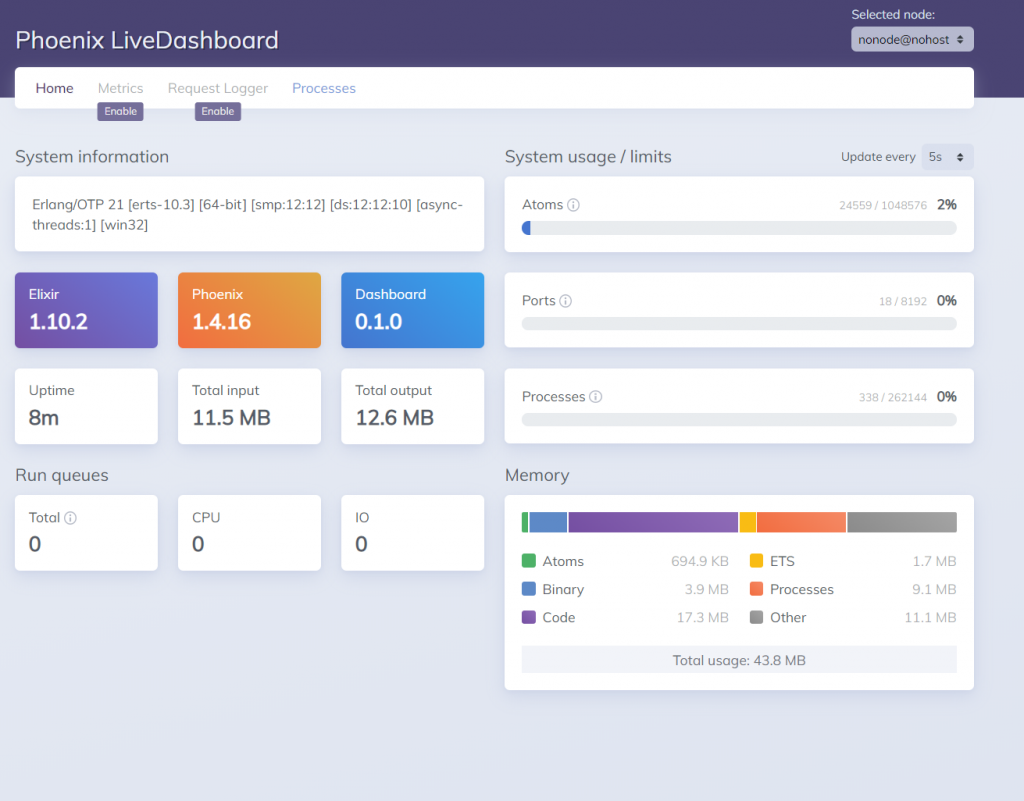
endNow, start your webserver again and visit “/dashboard”
One reply on “Phoenix Elixir Installation in Windows 10”
[…] https:/www.yodiw.comphoenix-elixir-installation-in-windows-10 […]